Gamepad Tester – Free Online Controller Test for PS5, PS4, PS3, Xbox & More
A gamepad tester is a browser-based tool that uses the Web Gamepad API to read every input signal from your connected controller in real time, including buttons, analog sticks, triggers, vibration motors, motion sensors, and input latency, without requiring any software installation. Connect via USB or Bluetooth, press any button to wake the controller, and every input appears live on screen.

No Controller Detected
Connect your controller using USB or Bluetooth and press any button to start testing. Works with Xbox, PlayStation, Nintendo, and other controllers, with accurate button testing.
 Button States
 Analog Axes
 Vibration Test
 Export Test
Report
Export Test
ReportNo Controller Detected
Connect your controller via USB or Bluetooth and press any button to begin testing. Supports Xbox, PlayStation, Nintendo, and generic controllers with full button mapping and precision testing.
No Controller Detected
Connect your controller via USB or Bluetooth and press any button to begin testing. Supports Xbox, PlayStation, Nintendo, and generic controllers with full button mapping and precision testing.
No Controller Detected
Connect your controller via USB or Bluetooth and press any button to begin testing. Supports Xbox, PlayStation, Nintendo, and generic controllers with full button mapping and precision testing.
Gamepad Controller Tester
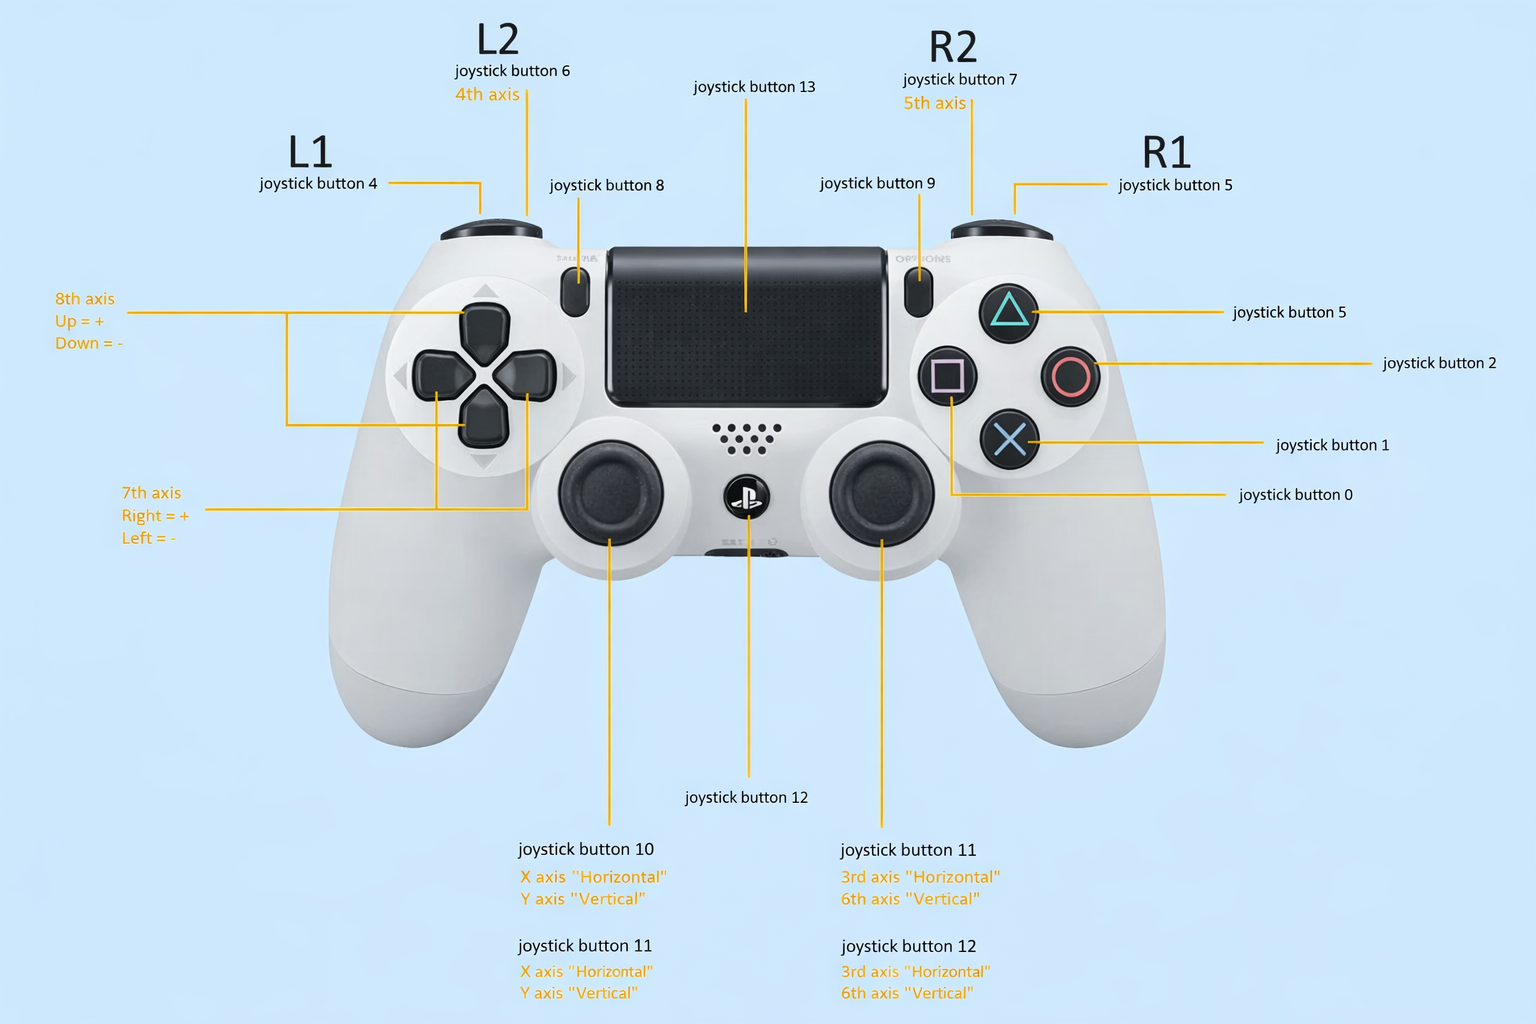
Connect your game controller with USB or Bluetooth and check if all buttons and sticks are working. You can see everything live on the screen.
Fast and Easy Controller Testing
Check button presses in real time, track analog stick movements, monitor trigger pressure & get instant visual feedback response on screen for all controller inputs.
More Advanced Testing Suite
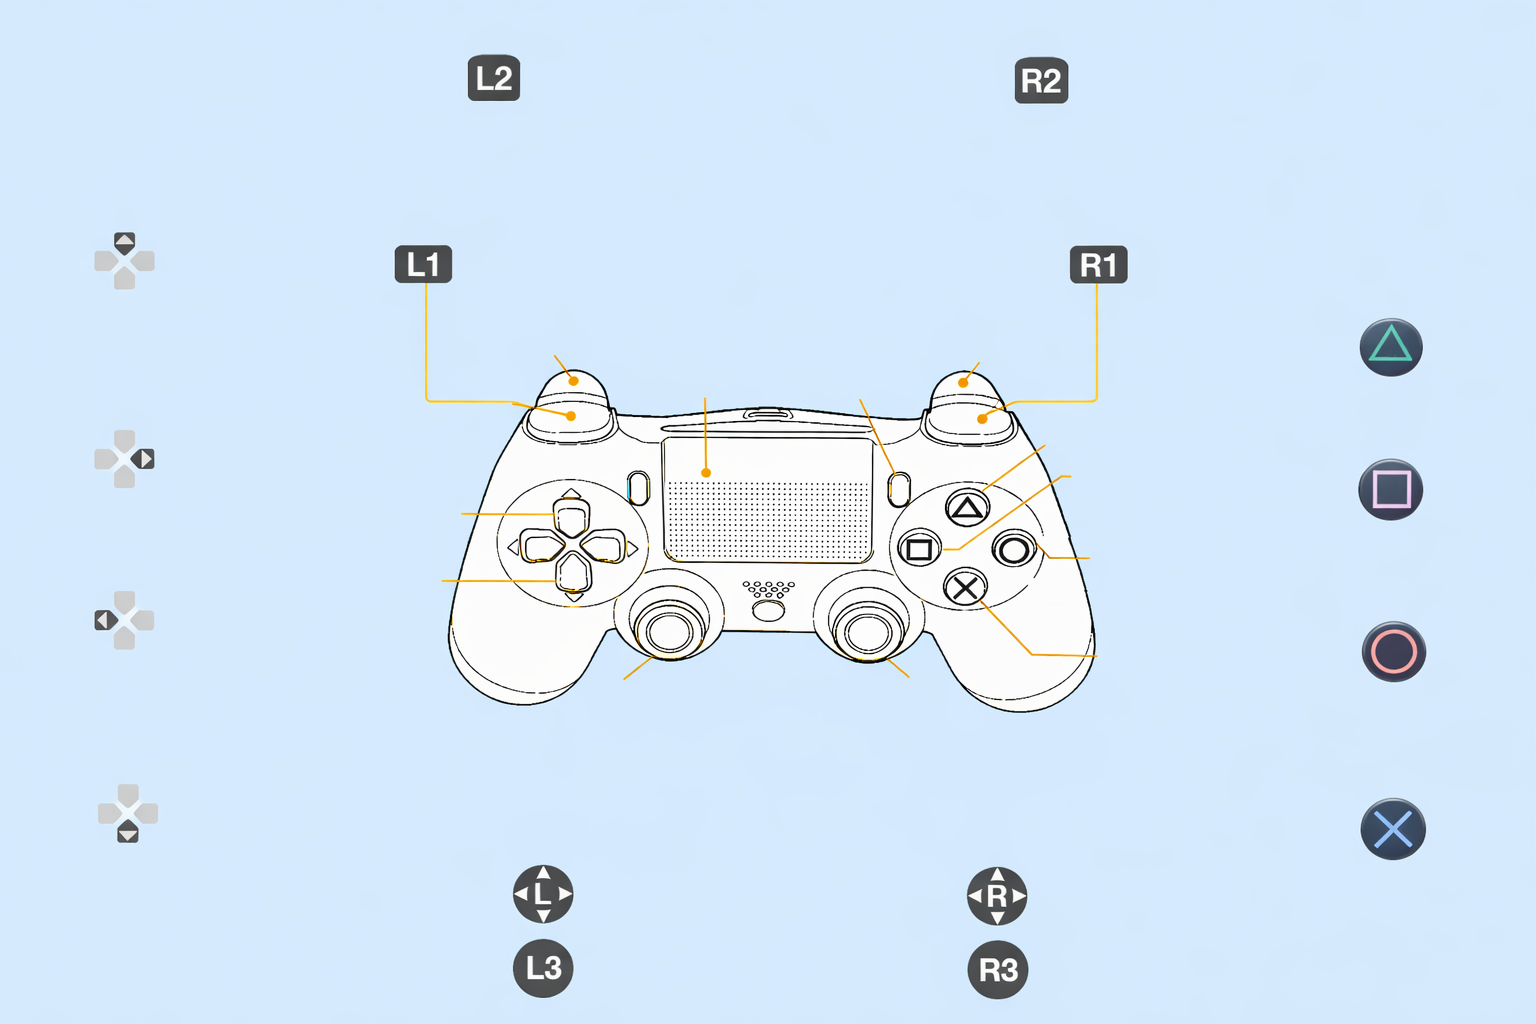
Test your controller with easy-to-use tools and special checks to see how well every button, stick, and trigger works.
One-Click Controller Check Details
Gamepad Tester gives you 7 easy-to-use tools to check and understand how every part of your controller works.
What Is a Gamepad Tester and Why Does It Matter?
A gamepad tester is an online diagnostic tool that connects to your gaming controller through your browser’s built-in Gamepad API. When you plug in a controller or pair it via Bluetooth, the browser receives a stream of raw input data , the exact same data your games read. The tester visualizes this stream so you can see exactly what your hardware is (and isn’t) doing.
This matters more than most gamers realize. Controllers are mechanical devices with hundreds of moving parts that wear down over time. A button that sticks 2% of the time is invisible in casual play but devastating in a fighting game tournament. An analog stick with 0.15 units of drift at rest will slowly ruin your aim in every shooter you play. A trigger that only registers 80% of its travel range will make your car feel sluggish in every racing game.
Modern controllers have also grown dramatically more complex. The PS5 Dual Sense includes adaptive triggers with variable resistance motors, haptic actuators that replace traditional rumble motors, a built-in microphone, a touchpad, and a gyroscope , any of which can fail independently. The Xbox Series X controller added a share button, improved the bumpers, and refined the trigger stops. Each new feature is a new potential point of failure.
Testing your controller regularly , especially before competitive play, after a drop, or when buying used , is one of the simplest ways to improve your gaming performance and extend the life of your hardware.
How to Use the Gamepad Tester Online
Using this tool requires no downloads, accounts, or plugins. It works entirely inside your browser using the W3C Gamepad API, which is supported natively in Chrome, Edge, Firefox, and Safari.
USB Connection
- Connect your controller to your computer using the original USB cable (third-party cables sometimes lack the data lines needed for controller communication)
- Wait 3–5 seconds for your operating system to install or recognize the device driver
- Open the gamepad tester page
- Press any button on your controller, this is required because browsers don’t surface gamepad data until the user interacts with the gamepad, a privacy safeguard introduced in 2020
- Your controller appears in the interface and all inputs begin registering in real time
USB troubleshooting:
If nothing appears, try a different USB port (front-panel ports are often lower quality), check Device Manager on Windows for yellow warning icons next to the controller, and verify your USB cable supports data transfer, not just charging.
Bluetooth Connection
- Put your controller into pairing mode:
- PS5 DualSense: Hold the PS button + Create button simultaneously for 3 seconds until the light bar flashes rapidly
- PS4 DualShock 4: Hold PS button + Share button for 3 seconds
- Xbox Series X/S: Hold the Xbox button until it pulses, then press the pairing button on the top edge
- Nintendo Switch Pro: Hold the sync button on the top edge for 3 seconds
- Open your device’s Bluetooth settings and pair the controller
- Once paired, open the tester page and press any button to activate
Bluetooth note:
On Linux, only USB connection is supported via the browser Gamepad API. Bluetooth gamepad support on Linux requires additional driver configuration outside the browser.
The “Wake Up” Rule – Why You Must Press a Button First
Every browser requires at least one button press before exposing gamepad data to a web page. This is not a bug, it’s a deliberate security and privacy measure that prevents websites from passively reading your controller state without your knowledge. Once you press any button, the controller is “woken up” and the tester reads all inputs continuously.
Complete Testing Guide: What to Check and What It Means
Step 1: Button Testing
Press every button individually and confirm it lights up in the interface. What you’re looking for:
- Immediate registration: The button should highlight the instant you press it, with no perceptible delay
- Clean release: The button should deactivate the moment you release it. Sticky contacts cause brief double-registrations on release
- No ghost inputs: Watch the interface at rest. No buttons should activate without being pressed, this indicates short circuits or moisture contamination
Pay special attention to bumpers (L1/R1, LB/RB), which are the most mechanically fragile buttons on most controllers due to their plastic hinge mechanism. Also check the D-pad by pressing each direction independently and in diagonals.
Step 2: Analog Stick and Joystick Testing
Move each stick through its full range, including slow circles, fast flicks, and returning to the center position. Key things to check:
Dead zone mapping: Every controller has a dead zone, a small area around the center where stick movement is ignored to prevent drift from registering as input. Healthy dead zones are typically 5–15% of the stick’s total range. You can see this in the tester as the area where the readout value stays at 0.00 even when you nudge the stick slightly.
Stick drift: Release both sticks completely and watch the axis values. On a healthy controller, both X and Y axes should read at or very near 0.00 at rest. Values consistently above ±0.05 at rest indicate the beginning of stick drift. Values above ±0.15 will cause visible movement in games and require action.
Circularity test: Slowly rotate each stick in a full circle, keeping it pressed against the edge. In the tester, trace this path and check:
- The circle should be smooth and roughly uniform
- There should be no flat spots (where the stick fails to register the corners of its travel)
- The maximum value should reach close to 1.00 in all directions
What good looks like: A healthy stick traces a clean circle reaching 0.95–1.00 at the edges, with a rest value within ±0.02 of 0.00 on both axes.
Step 3: Trigger Testing
Pull each trigger from fully released to fully pressed and watch the axis value go from 0.00 to 1.00 (or -1.00 to 1.00 depending on the controller’s API implementation). Check for:
- Smooth travel: The value should increase linearly and smoothly across the full range
- Full range: The trigger should reach its maximum value (1.00) when fully depressed. Triggers that only reach 0.80 at full press have worn potentiometers
- Zero point: At rest, the trigger axis should read exactly 0.00. Values drifting above 0.05 at rest will register as a hair trigger in some games
PS5 DualSense adaptive triggers: These have additional data channels for the resistance motor position. The standard tester shows the analog input value; specialized tools can show resistance motor state.
Step 4: Vibration and Rumble Testing
Trigger the vibration test from the interface. A healthy controller should:
- Vibrate at the requested intensity (most testers allow weak motor and strong motor to be tested independently)
- Respond immediately when the test is triggered
- Stop cleanly when the test ends, without trailing buzzing
If vibration doesn’t work: First confirm your browser has permission. Chrome requires a user gesture before vibration. Then check that vibration isn’t disabled in your OS audio/controller settings. On Windows, vibration can be blocked by the “Game Mode” settings in some configurations.
PS5 DualSense haptics note: The DualSense’s haptic actuators work differently from traditional rumble motors and require the PlayStation’s proprietary protocol to fully express. Through the browser Gamepad API, they behave as standard rumble motors at reduced fidelity. Full haptic testing requires using the controller on a PS5 or via Sony’s PC driver.
Step 5: Input Lag and Latency Testing
Input lag is the time between pressing a button and the tester registering it. The tester measures this by timestamping when the button state change was received by the browser. Key benchmarks:
| Connection type | Typical input latency | Competitive threshold |
|---|---|---|
| USB wired | 1–4ms | Under 5ms is excellent |
| Bluetooth 5.0+ | 8–15ms | Under 20ms is acceptable |
| Bluetooth 4.0 (older) | 15–30ms | 25ms+ may feel perceptible |
| Wireless dongle (2.4GHz) | 4–8ms | Under 10ms is excellent |
Note that browser-measured latency includes JavaScript execution overhead of roughly 1–3ms, so real hardware latency is slightly lower than what the tester reports.
For competitive gaming: If you’re competing at a high level, a wired connection is almost always preferable. The difference between 3ms and 15ms is imperceptible in casual play but meaningful when reaction times matter.
Stick Drift: The Most Important Test You’ll Run
Stick drift is the most common and most damaging controller failure. It occurs when the potentiometer inside the analog stick, a small rotating resistor that converts stick position to electrical values, wears down, accumulates debris, or loses calibration. The result: your character walks, your crosshair drifts, your camera rotates on its own.
How to Test for Stick Drift Definitively
- Open the tester and connect your controller
- Place the controller flat on a table and let go of both sticks completely
- Watch the axis values for both sticks for 30 seconds without touching anything
- Healthy result: Both X and Y axes on both sticks hold within ±0.02 of 0.00
- Early drift: Values between ±0.03 and ±0.10, not causing visible in-game problems yet, but will worsen
- Active drift: Values consistently above ±0.10, this is causing movement in games
Drift by Platform
PS5 DualSense drift has been widely reported and is linked to the potentiometer design used in the DualSense. Sony issued a repair program in some regions. If your DualSense shows drift within the first 6 months of use, contact PlayStation support, it may qualify for a free repair.
Xbox Series X/S drift is less common than PS5 but still occurs. Microsoft released a firmware update in 2023 that improved dead zone compensation for worn sticks, which can extend the usable life of a drifting Xbox controller without physical repair.
Nintendo Switch Joy-Con drift has been the most publicized drift issue, prompting class action lawsuits in multiple countries. Nintendo offers free repairs through their support program for affected Joy-Cons.
What to Do About Stick Drift
| Severity | Drift value at rest | Recommended action |
|---|---|---|
| None | 0.00–0.02 | No action needed |
| Negligible | 0.02–0.05 | Monitor; increase in-game dead zone slightly |
| Minor | 0.05–0.10 | Increase in-game dead zone; consider repair soon |
| Moderate | 0.10–0.20 | Repair or replace; currently affecting gameplay |
| Severe | 0.20+ | Replace potentiometer or controller immediately |
DIY fix: The most common and cost-effective repair is replacing the analog stick module (the entire potentiometer + gimbal assembly). Replacement kits cost $5–15 and require a Phillips screwdriver and some patience. Hall effect replacement sticks (which use magnetic sensors instead of resistive potentiometers and don’t wear out) are now available for PS5, Xbox, and Switch for $20–40.
Hall effect sticks are the permanent solution to drift. Instead of a potentiometer that physically wears against a contact, they use a magnet and a sensor that never touch. Controllers with native Hall effect sticks (like the Gulikit King Kong Pro 2, Flydigi Vader 4 Pro, and newer 8BitDo models) should never develop drift.
Dead Zones Explained: What They Are and How to Find Yours
A dead zone is a region around the center of an analog stick where movement is ignored. Dead zones exist for a good reason: even a perfectly healthy controller has microscopic mechanical variation at rest, and without a dead zone, that noise would register as tiny, constant inputs.
The Two Types of Dead Zones
Hardware dead zone: Set at the physical/driver level, this is a fixed threshold below which the controller reports 0 regardless of actual stick position. Most controllers have a hardware dead zone of around 5–10%.
Software dead zone: Applied by games or the OS on top of the hardware dead zone. Games set their own dead zones in their input configuration, which is why the same controller can feel different across different games.
Finding Your Controller’s Dead Zone
In the tester, slowly move each stick from center outward in a single direction. The point where the axis value first departs from 0.00 is the edge of your dead zone. Note this value for each direction on each stick , an asymmetric dead zone (larger in one direction) indicates uneven wear.
Dead Zone and Performance
For shooters and racing games, a smaller dead zone means more responsive, precise control. For casual play, a larger dead zone means less accidental movement. Most competitive games allow you to set custom dead zones in their settings , use the tester’s value as your starting point, then set your in-game dead zone to match or slightly exceed it.
Platform-Specific Testing Guide
Xbox Series X/S and Xbox One Controller Test
Xbox controllers have excellent native PC support and typically work with zero driver installation. Checklist:
- All 15+ buttons (including Share button on Series X/S)
- Bumpers (LB/RB), test multiple times, these are prone to wear
- Both triggers with full analog range
- Both sticks, note the Xbox stick module design is different from PlayStation and generally more drift-resistant
- Vibration (left and right main motors, plus trigger rumble on Elite and Series X/S)
- D-pad accuracy (diagonal registration)
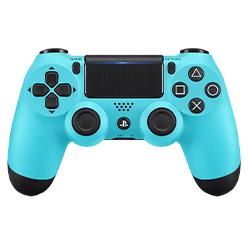
PlayStation Controllers
Full support for PlayStation controllers with complete feature testing.
- DualSense (PS5): Advanced PS5 controller with adaptive triggers, haptic feedback, touchpad, and motion sensors.
- DualShock 4 (PS4): PS4 controller featuring analog sticks, touchpad, motion controls, and vibration.
- DualShock 3 (PS3): Classic PS3 controller with wireless connectivity, motion sensing, and vibration support.
- PlayStation Move Controllers: Motion-tracking controllers designed for gesture-based and VR gaming.
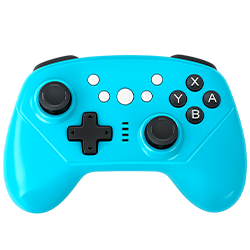
Nintendo Switch Pro Controller Test
The Switch Pro Controller has excellent PC compatibility via USB or Bluetooth with the Nintendo Switch Pro Controller driver (which Windows 10/11 includes natively). Checklist:
- All 16 buttons including Capture and Home
- Both analog sticks (Joy-Con drift issues also affect Pro Controllers, though less commonly)
- ZL/ZR analog triggers (note: these are less pressure-sensitive than PlayStation/Xbox triggers and have a more digital feel)
- Both sticks’ gyroscope data
- HD Rumble (linear resonance actuators, different from traditional motors)
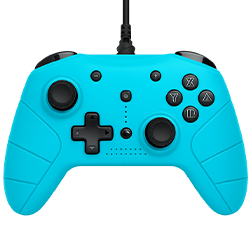
Generic and Third-Party Controllers
Most USB HID-class gamepads work with no drivers. Bluetooth third-party controllers vary in compatibility. Key things to know:
- 8BitDo controllers: Excellent browser compatibility in X-Input mode. Set the mode switch to X before connecting.
- Logitech F310/F510/F710: Work natively in both DirectInput and XInput modes. XInput mode gives better button labeling.
- Razer Wolverine/Panthera/Kitsune: High compatibility, custom button mappings show up correctly in the API.
- Steering wheels (Thrustmaster, Logitech G series): Connect and are detected, but pedals and shifters may appear as separate gamepad devices. The tester shows all connected devices simultaneously.
Input Latency Deep Dive: Polling Rates and What They Mean
Every controller communicates with your PC at a fixed rate called the polling rate, measured in Hz (polls per second). Higher polling rates mean more frequent updates and lower latency.
| Device | Typical polling rate | Maximum update interval |
|---|---|---|
| USB wired Xbox/PS controller | 125–250Hz | 4–8ms |
| USB wired with high-performance driver | 500–1000Hz | 1–2ms |
| Bluetooth standard | 125Hz | 8ms |
| Xbox Wireless (2.4GHz dongle) | 125–250Hz | 4–8ms |
| PlayStation DualSense USB | 250Hz | 4ms |
| 8BitDo Ultimate (2.4GHz) | 1000Hz | 1ms |
The browser Gamepad API polls its own internal buffer, not the hardware directly. Chrome polls at approximately 60–125Hz depending on the page’s requestAnimationFrame loop. This introduces 1–2 frames of additional latency in the tester display but does not affect in-game latency.
For the tester’s input lag measurement: The timestamp shown represents when the browser’s input buffer received the state change, minus when your button press was detected. It’s useful for relative comparison (USB vs Bluetooth on your specific system) but should not be compared across different machines or browsers.
Gyroscope and Motion Control Testing
Several modern controllers include inertial measurement units (IMUs), accelerometers and gyroscopes, that detect physical movement and rotation. These enable features like motion aiming in games, auto-centering, and VR integration.
Controllers with browser-accessible motion data include:
- PS5 DualSense (full 6-axis: 3-axis accelerometer + 3-axis gyroscope)
- PS4 DualShock 4 (same)
- Nintendo Switch Pro Controller (same)
- Joy-Con (left and right, each with full 6-axis)
- Many Android-compatible Bluetooth controllers
The tester displays accelerometer values in G-force units (at rest, you should see approximately 1G on the vertical axis due to gravity) and gyroscope values in degrees per second. Tilt, rotate, and shake the controller to verify all axes respond correctly.
Testing motion sensors:
- Lay the controller flat: Z-axis accelerometer should read ~1.0G, X and Y near 0
- Tilt forward 90°: Y-axis should read ~1.0G
- Rotate 90° clockwise: gyroscope Z-axis should spike and return to 0
Specialty Controller Testing
Steering Wheel Testing
Connect your racing wheel via USB. The wheel axis appears as the primary X-axis in the Gamepad API. Test:
- Full left-to-right rotation (should reach ±1.00 at lock-to-lock)
- Pedals (appear as Z-axis or additional axes depending on wheel model)
- Paddle shifters (appear as buttons)
- Force feedback (vibration channel)
- Gear shifter (if H-pattern, appears as additional buttons)
Flight Stick Testing
HOTAS setups often appear as two separate gamepad devices, stick and throttle. Test each independently. Verify:
- Full XY deflection on the main stick
- Hat switches (appear as buttons or as a POV axis)
- Throttle axis (full 0.00 to 1.00 travel)
- All button counts match physical buttons on your stick
Arcade Stick and Fightstick Testing
Critical for fighting game players. Test every button for:
- Consistent registration (no missed presses)
- No cross-talk (pressing one button shouldn’t register a neighbor)
- Optimal actuation point (particularly for optical switches)
- Leverless (box-style) sticks: test all four directional inputs independently and confirm diagonals register correctly (both left+down simultaneously, etc.)
Understanding the Readings: A Technical Reference
Button Values
Buttons return two values in the Gamepad API: pressed (boolean: true/false) and value (float: 0.0 to 1.0). For digital buttons, value is always 0 or 1. For analog inputs mapped to button channels (like PS2-style pressure-sensitive buttons), value can be intermediate.
Axis Values
Axes return floats from -1.0 to 1.0. For analog sticks:
- X-axis: -1.0 = full left, 1.0 = full right, 0.0 = center
- Y-axis: -1.0 = full up, 1.0 = full down, 0.0 = center (note: Y is inverted, down is positive, this is a standard in the Gamepad API)
For triggers mapped as axes:
- 0.0 = fully released, 1.0 = fully pressed
- Some controllers map triggers as -1.0 (released) to 1.0 (pressed), this varies by manufacturer
Timestamp
The Gamepad API timestamp is in milliseconds from the page’s time origin (not wall-clock time). The difference between consecutive timestamps indicates how frequently your controller’s state is being updated, this is your effective polling rate as seen by the browser.
The Circularity Score
Some advanced testers calculate a “circularity score” by measuring how close to a perfect circle your stick traces when rotated at the edges. A perfect mechanical stick would score 100%. Real controllers typically score 85–97%. Scores below 80% indicate worn or damaged stick gates (the physical boundary that limits stick travel).
Comparison: Gamepad Tester vs Built-in OS Tools
| Feature | Online gamepad tester | Windows Game Controllers (joy.cpl) | Steam Input | DS4Windows |
|---|---|---|---|---|
| No installation required | Yes | Yes (built-in) | Requires Steam | Requires download |
| Real-time button visualization | Yes | Basic | Yes | Yes |
| Analog stick drift detection | Advanced | Basic | Basic | Yes |
| Input latency measurement | Yes | No | No | No |
| Vibration testing | Yes | No | No | No |
| Works on Mac/Linux | Yes | No | Limited | No |
| Multiple controller support | Yes | Yes | Yes | Yes |
| Circularity/dead zone analysis | Advanced | No | No | No |
| Motion sensor data | Yes | No | Partial | No |
| Export test report | Yes | No | No | No |
| Cross-browser | Chrome, Edge, Firefox, Safari | N/A | N/A | N/A |
The key advantage of an online tester is that it works on any operating system, requires zero installation, and provides more diagnostic data than most native tools. Windows’ built-in joy.cpl applet is useful for a quick sanity check but shows only button states and basic axis movement, no latency, no drift analysis, no vibration testing.
Caring for Your Controller: Maintenance Guide
Prevent Stick Drift
Protect Buttons
Battery and Wireless Care
Cable Management
How Gamepad Testing Works
Testing your controller with our online gamepad tester is simple, interactive, and precise. Here’s a step-by-step guide to ensure accurate results:
Connection
Connect your controller to your device using USB or Bluetooth.
Detection
Your controller is automatically detected and recognized.
Testing
Press buttons and move the sticks to test all controller functions.
Verifying
See real-time feedback and confirm everything works correctly.
Are you Ready to Test Your Gaming Controller?
Whether you’re a casual gamer, competitive player, or just maintaining your setup, our online gamepad tester ensures every controller performs at its best. It’s fast, reliable, and free, with no downloads or sign-ups required. Don’t wait until a controller issue ruins your game. Start testing now and ensure your gaming experience is smooth, precise, and immersive.
Regular testing catches problems early. Here’s how to prevent them in the first place.
When to Test Your Controller
- Before a competitive match or tournament: Run a full button sweep and stick drift check. This is the most valuable 2 minutes you can spend before competing.
- After any drop: Even a short drop onto a hard floor can shift stick potentiometers. Test immediately after dropping.
- When buying used: This is non-negotiable. A 30-second test reveals drift, dead buttons, and vibration issues that the seller may not have disclosed (or may not have noticed).
- When a game starts feeling “off”: If your aim feels worse than usual or your character seems to drift, run a tester before changing your in-game settings.
- Monthly for controllers in heavy use: Drift develops gradually. Catching it early lets you adjust dead zones in games before it becomes a problem.
- After firmware updates: Console manufacturers occasionally push firmware updates that change how controllers communicate. A quick test after updates confirms everything is behaving correctly.
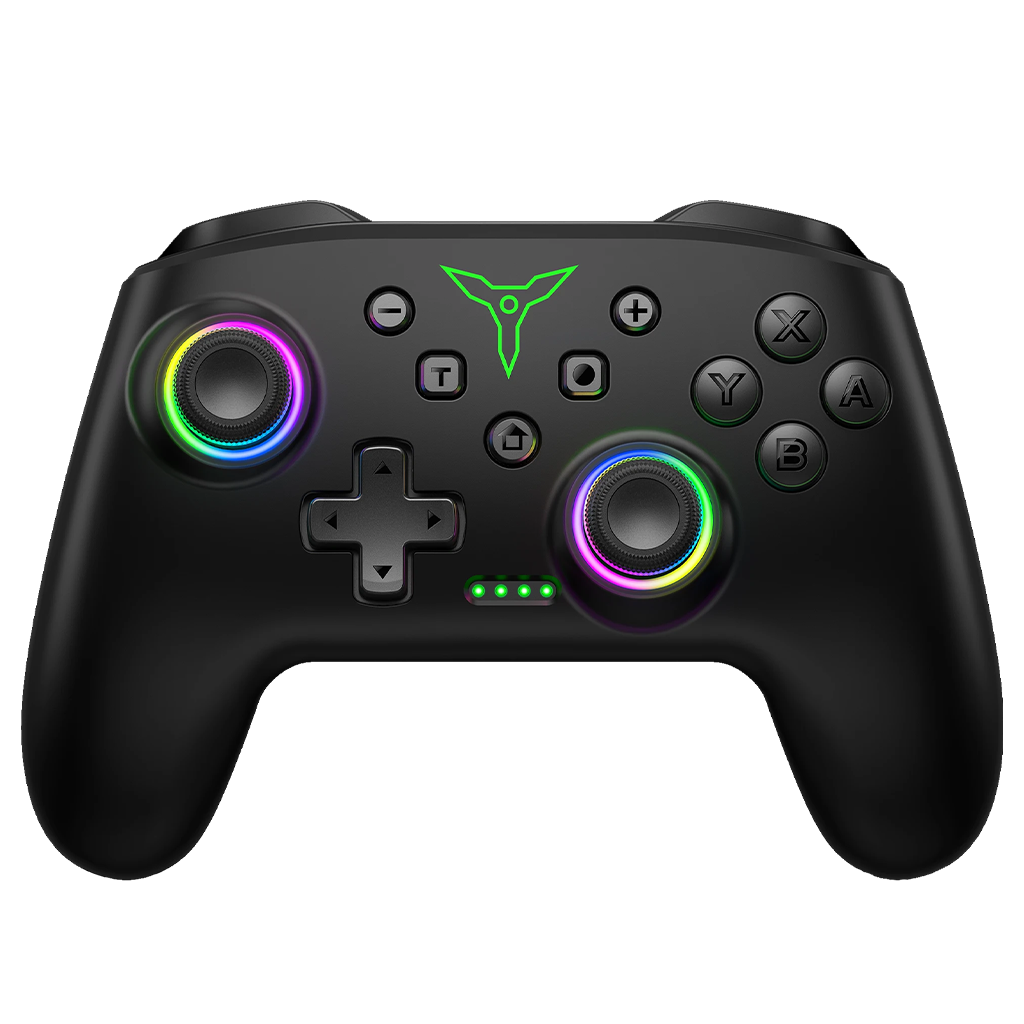
Free Gamepad Tester Online – Test PS5, PS4, PS3 & Xbox Gamepad Controllers
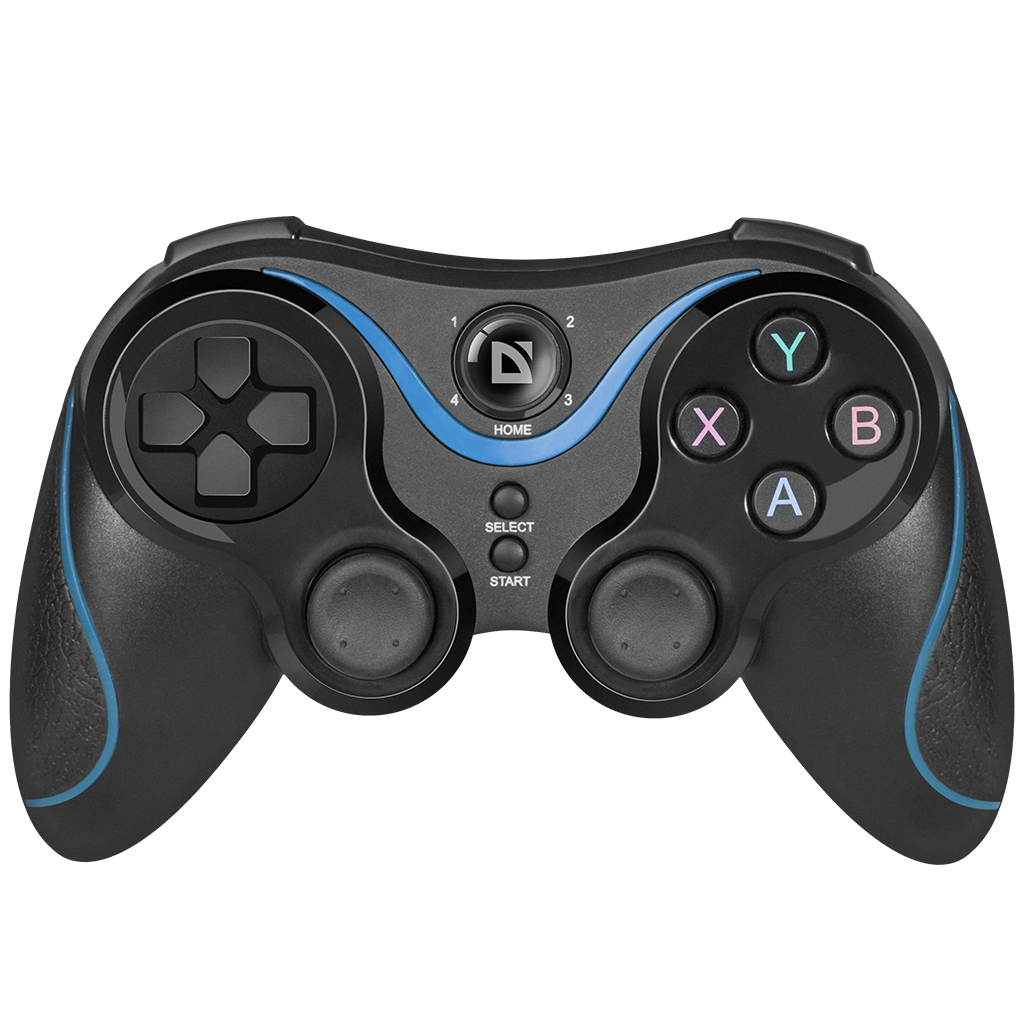
Common Problems and Solutions
Controller Not Detected
- Press a button first: The wake-up rule is the most common reason
- Try a different browser: Chrome and Edge have the most complete Gamepad API implementation
- Check your USB cable: try the official cable or a known-good data cable
- Refresh the page: browser cache can interfere with detection
- On Windows: Open Device Manager and check for yellow warning icons next to the controller entry. A yellow icon means the driver needs updating.
- Exclusive mode conflict: Some software (DS4Windows, Steam Input, older game launchers) can claim exclusive access to controller hardware, preventing the browser from reading it. Close other applications that might use your controller.
Triggers Not Reaching Full Range
This usually means the physical potentiometer is worn. Confirm by pressing the trigger to its mechanical stop while watching the axis value, if it doesn’t reach 1.00, the potentiometer needs replacement. For PS5 DualSense, check if Adaptive Trigger mode is interfering with browser readings.
Buttons Working Intermittently
Clean the button’s membrane contact with 90%+ isopropyl alcohol. If cleaning doesn’t help, the rubber membrane dome has likely cracked and needs replacement. These are inexpensive to replace on most controllers.
Ghost Inputs (Buttons Activating Without Being Pressed)
Causes include moisture damage (corrosion on contacts), a stuck button dome, or electromagnetic interference. Moisture damage requires inspection of the PCB for corrosion. If corrosion is present, clean with isopropyl alcohol and a soft brush, allow to dry completely, and retest.
Vibration Not Working
- Grant browser permission when prompted
- Confirm vibration isn’t disabled in your OS settings
- On PS5 DualSense: the haptic actuators require a Gamepad API vibration call, some browsers implement this incompletely. Use Chrome for best haptic compatibility.
- If one side of vibration works but not the other, the inactive motor may be physically damaged.
Browser Compatibility Reference
| Browser | Gamepad API | Vibration | Motion sensors | Notes |
|---|---|---|---|---|
| Chrome 120+ | Full | Yes | Yes | Best overall support |
| Edge 120+ | Full | Yes | Yes | Identical to Chrome (Chromium-based) |
| Firefox 120+ | Full | Partial | Limited | Good button/axis support; vibration less reliable |
| Safari 16.4+ | Full | No | No | Good button/axis support; no vibration |
| Opera | Full | Yes | Yes | Chromium-based, same as Chrome |
| Mobile Chrome (Android) | Full | Yes | Yes | Works with USB-OTG or Bluetooth |
| Mobile Safari (iOS) | Limited | No | No | Basic support; some controllers don’t register |
Recommendation: For the most complete test, use Chrome or Edge on a Windows or macOS desktop.
Frequently Asked Questions
Get quick responses to frequently asked questions regarding Gamepad Tester services