How to Calibrate a PS5 Controller (DualSense): Step-by-Step Guide
PS5 controller calibration means telling the controller exactly where “center” and “full range” are for each stick, and on DualSense Edge, shaping how that input scales as you push further from center. You don’t need a broken controller to do this. Setting it up when a controller is brand new, after a firmware update, or before you tune a profile for a specific game gives you more accurate, predictable input than relying on factory defaults.
Most calibration guides only exist because something went wrong first. This one doesn’t assume that. If you just unboxed a controller, picked up a DualSense Edge, or want to build a real per-game precision setup instead of accepting whatever sensitivity curve the console defaults to, this is that guide.
Calibration Isn’t Just a Repair Step
There are several legitimate reasons to calibrate a controller that has nothing to do with fixing a problem:
- You just unboxed a new controller. Factory calibration is generally accurate, but running your own center/range calibration once takes two minutes and removes any doubt.
- You updated controller firmware. Firmware updates occasionally touch input handling. A quick recalibration after an update confirms nothing shifted.
- You’re setting up for competitive or ranked play. Consistent, predictable stick response matters more in ranked shooters or fighting games than in casual single-player sessions.
- You’re switching between genres. The response curve that feels great for a slow, cinematic third-person game will feel sluggish in a twitch shooter, and vice versa. Different games reward different setups.
- Multiple people use the same controller. Different hand sizes and grips benefit from different deadzone and sensitivity settings, and this is where DualSense Edge’s Custom Profiles earn their keep.
None of these require a “broken” controller. They’re setup and optimization tasks, and they’re worth doing whether or not you’ve ever noticed an issue.
What Calibration Actually Adjusts
It helps to know exactly what you’re changing before you change it.
- Center point: where the controller reports “neutral” when your thumb is off the stick.
- Range: how far the stick has to travel in each direction before the controller reports 100% input.
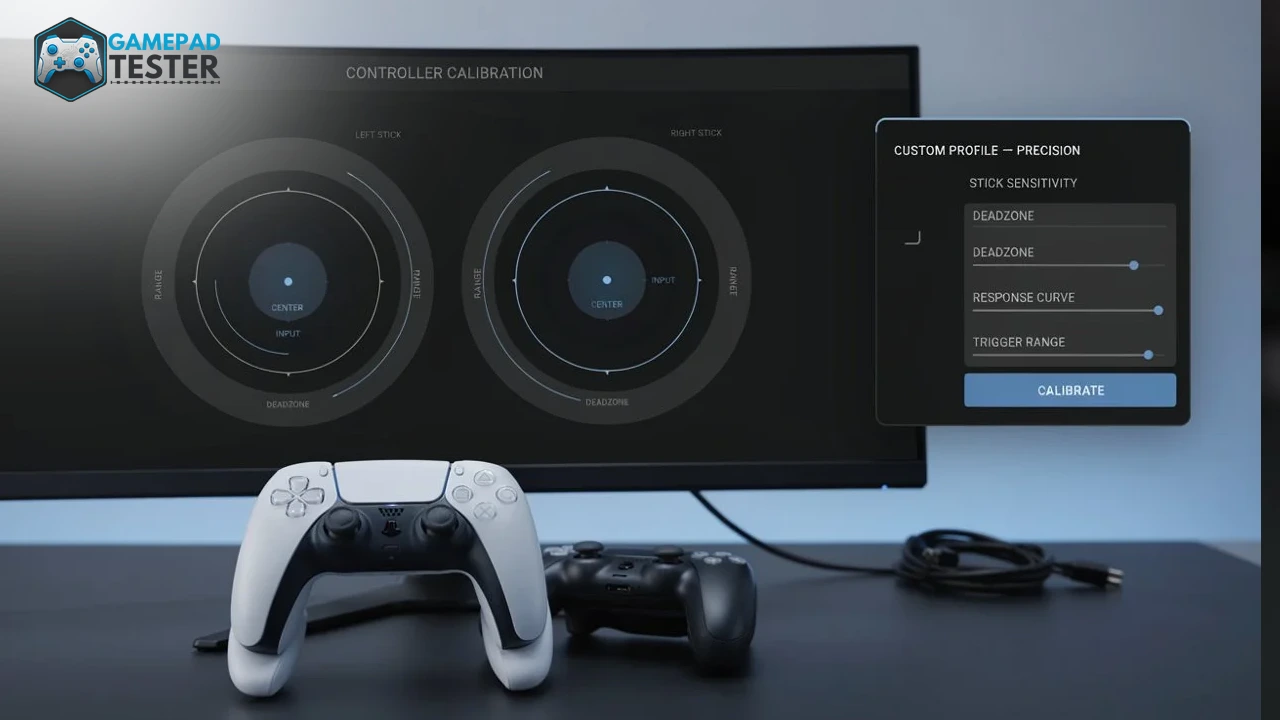
- Sensitivity curve (DualSense Edge only): how input scales between 0% and 100% as you push the stick further from center. A flat, linear curve gives you 1:1 proportional response. A steeper curve gives you fine control near center and fast response near the edges.
- Deadzone: the small area around center where input is deliberately ignored, to prevent minor imprecision from registering as movement.
Standard DualSense controllers let you set center and range through a free tool. DualSense Edge adds sensitivity curves, deadzone, and trigger range on top of that, all saved to on-console profiles.
Step 1: Calibrate Center and Range (Standard DualSense)
This is the foundation every other setting builds on, so do this first, even on a brand-new controller.
What you need:
- A USB-C data cable (not charge-only)
- A Windows or Mac computer running Chrome or Edge (the tool uses the WebHID API, which Safari and Firefox don’t support)
- Steam, DS4Windows, or any other controller software fully closed, so it doesn’t intercept the USB connection
Process, using the free DualShock Calibration GUI:
- Connect the controller to your PC with the USB-C cable.
- Open the tool in Chrome or Edge and click Connect.
- Select Calibrate Stick Center and leave both sticks untouched while it reads the resting position.
- Select Calibrate Stick Range, then slowly rotate each stick through several full circles so the tool maps the outer edges accurately.
- Test both sticks in every direction on-screen. You’re looking for smooth, linear tracking with no dead spots or sudden jumps.
- Save. This writes the calibration to the controller’s own memory, so it persists across reconnects and even across different consoles.
If you connected properly and the controller doesn’t show up, try connecting your PS5 controller to a PC again with a confirmed data cable. Most “not detected” errors trace back to a charge-only cable, not a faulty controller.
Step 2: Build a Precision Profile (DualSense Edge)
This is where DualSense Edge pulls ahead of the standard controller. It’s the only PS5 controller with an on-console calibration and profile system, confirmed directly through Sony’s own controller setup documentation.
- From the PS5 home screen, go to Settings > Accessories > DualSense Edge Wireless Controller.
- Select Custom Profiles, then Create Custom Profile.
- Choose Stick Sensitivity/Deadzone, then select a stick to configure.
- Pick from the six built-in sensitivity curves. These range from flatter, linear response profiles (good for careful, methodical aiming) to steeper curves that prioritize fast direction changes. Sony and several developer partners have specifically recommended curves like Quick for fast camera turns and movement, and Precise for careful, controlled aiming, as reference points to build from.
- Set the deadzone, small enough to preserve precision near center, large enough to avoid any unintended input.
- Save the profile. It applies automatically the next time you load it, and you can build multiple profiles for different games or players, switching between them mid-session with the controller’s function button.
Trigger range is part of this too, and it’s genuinely underused. Inside the same Custom Profile, you can shorten the L2/R2 trigger’s effective travel range. For example, setting the input range to register between 0 to 70% of the pull instead of the full 0 to 100%. That means the trigger registers a shot or action sooner in the pull, which several competitive shooter setups use specifically to shave reaction time without losing the physical feel of a full trigger pull.
Step 3: Set Up Genre-Specific Profiles
A single “best” calibration doesn’t exist, because different genres reward different response curves. This is a purely DualSense Edge feature, since only Edge saves multiple named profiles.
| Genre | What to prioritize | Suggested starting point |
|---|---|---|
| Competitive shooters | Fast reticle movement, short trigger travel | Quick or Dynamic curve, shortened L2/R2 range |
| Racing sims | Fine, proportional control, minimal deadzone | Linear/Standard curve, small deadzone |
| Fighting games | Consistent, repeatable inputs over raw speed | Precise curve, standard deadzone |
| Open-world/exploration | Comfortable defaults, less precision-critical | Default curve, standard deadzone |
Save each as its own profile and switch between them with Fn + the corresponding button, rather than manually re-adjusting settings every time you change games.
Step 4: Set Up Per-Player Profiles
If more than one person uses the same DualSense Edge, whether that’s a household, a co-op setup, or a shared streaming rig, build a profile per person rather than a profile per game. Hand size, grip style, and finger reach all affect what deadzone and trigger range feel right, and there’s no reason two different players should share identical settings just because they share a controller. This also matters for accessibility: a player with limited finger mobility may benefit from a shorter trigger range and larger deadzone regardless of which game they’re playing.
Step 5: Verify Your Calibration Is Actually Accurate
Don’t just trust that it worked. Confirm it.
- Run our stick drift test to confirm the stick returns cleanly to dead center with zero residual input.
- Run our deadzone test to see the exact deadzone you’re working with, rather than guessing from feel.
- If you’re setting up specifically for competitive play, our controller latency test is worth a pass too. Calibration affects accuracy, not speed, and it’s easy to conflate the two when a setup “feels” better.
This verification step matters more here than in a repair context: you’re not checking “is this still broken,” you’re checking “is this actually dialed in the way I intended.”
When You Should Use a Different Guide Instead
To be direct about it: if you landed here because your character is moving on its own, your camera drifts without input, or your aim keeps pulling in one direction, that’s stick drift, not a calibration setup task. Calibration can sometimes mask early-stage drift, but if the problem returns quickly, you’re dealing with a wear issue that this guide isn’t built to solve. Our complete stick drift diagnosis and repair guide covers causes, testing, cleaning, and hardware replacement in full.
Final Thoughts
Calibration has a reputation as a last resort for a broken controller, but treating it that way means most players only ever touch it once something already feels wrong. Used proactively, on a new controller, after an update, or as the foundation for genre-specific profiles, it’s a five-minute setup step that removes small inconsistencies before they ever become noticeable during play. If everything above felt like overkill and you’re actually dealing with unwanted stick movement, save yourself the detour. This page and that one are solving two different problems on purpose.
For dialing in accurate, consistent stick and trigger response on a controller that’s working fine, not for fixing unwanted drift. If your stick is moving on its own without you touching it, that’s a hardware symptom, and our stick drift diagnosis and repair guide is the right place to start instead.